School Garden Projects and Food Education
So easy and a great way to start your own edible garden!
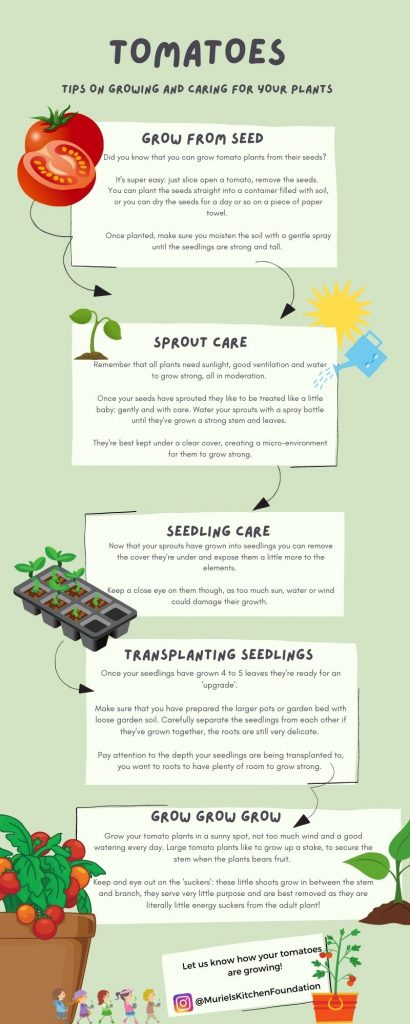
Growing tomatoes from seed is super easy, probably easier than from a store bought seeds!
Fun fact: The tomato is the edible berry of the plant Solanum lycopersicum, commonly known as a tomato plant. The species originated in western South America and Central America. – wikipedia
More funny facts about this fruit, or vegetable, on National Geographic.
What’s your favourite food made with tomatoes? Have you tried making your own ketchup?
Growing tomatoes from seed is super easy, probably easier than from a store bought seeds and a great way to start your own edible garden!
To start you need to prep the ‘baby-room’: make sure that you have your seedling containers filled loosely with good quality garden soil. Here on Curacao I like to use the Van Egmond potting soil, or Jiffy also works! This is imported from Europe, the seeds seem to like it best.
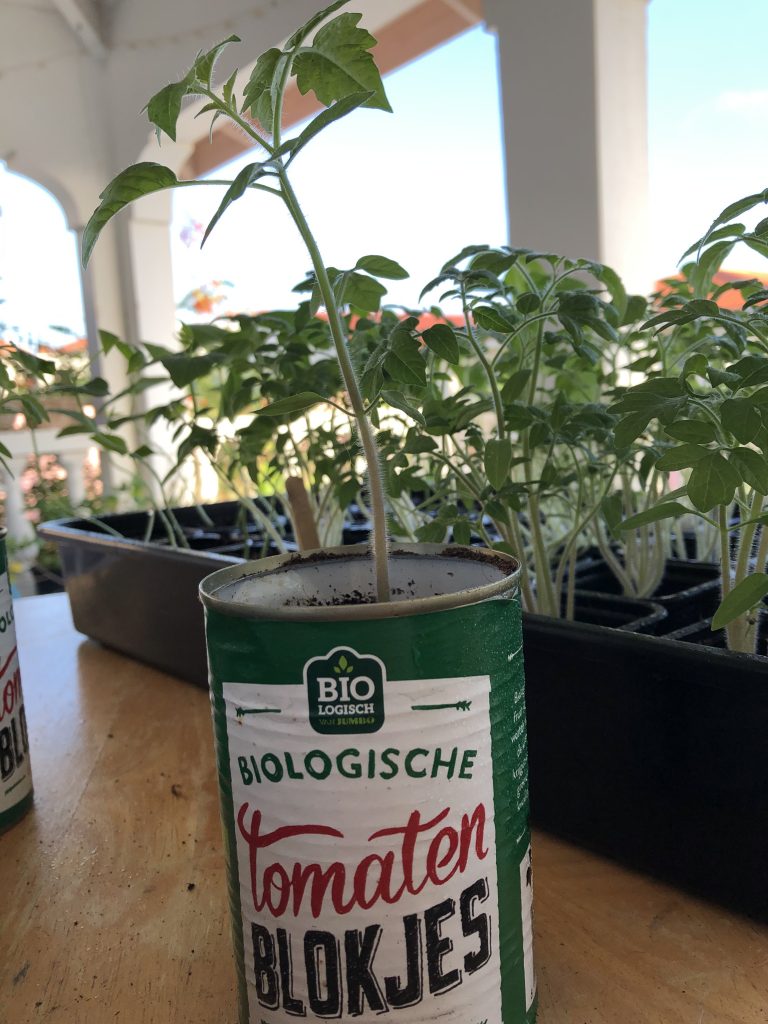
Just for fun I like to plant some cherry tomato seeds in clean tomato cans, you can use any cans, just make sure you poke some holes in the bottom for drainage of excess water.
Carefully remove the seeds from the inside of the tomato, you can either plant them straight away or have them dry out a little on a piece of paper towel.
Because of the warm and humid conditions here in the Caribbean, tomatoes and many other ‘fresh’ seeds sprout quickly: mostly between 3 – 5 days.
Once you have planted the seeds, not deeper than the first part of your finger (2cm/ 1 inch max) cover the seeds lightly with some soil and lightly spray water to moisten the top layer.
Because of the constant wind here on Curacao, we need to make sure that the top layer of soil doesn’t dry out too much to blow away, another reason why we need to keep the top soil moist.
The seeds sprout best in a box with a clear lid, so that they’re protected from any creepy crawly at night and the wind sheer, this will also create a micro-environment for the seeds to sprout nice and strong!
Keep them away from direct sunlight. Check up on them daily, spray daily, and talk to them 😉
Ok so next up is caring for the seedlings, some of your seeds might not have sprouted, but that’s ok. It’s important to remember that we don’t grow at the same pace.
The seeds that have sprouted now need another form of care, they’re needing some more sunlight (or you’ll see them grow towards the light). As the seedlings grow they might also need some more water, you can carefully start adding water at the roots of the seedlings when they’ve grown 2 or 3 leaves.
Once the seedlings have grown a few leaves you will notice their stems getting stronger and stronger. But don’t be fooled, these little guys are still very fragile and it will take another little while before they can be upgraded to the next level.
As soon as the smallest seedling has grown it’s big leaves, it is time for an upgrade or the roots will intertwine too much and it will be even harder to transplant them. As with the seeds, make sure that you are well prepared for the transplant:
Have the individual pots ready, partially or fully filled with some of that wonder soil. Make about a ‘finger-deep’ hole in the middle of the container, so that you can easily transplant the individual seedling. Make sure you have enough space around you when you’re separating the seedlings. Take good care of the roots of the seedling, these are very fragile still.
Take into account that not every seedling will be strong enough for this transplant, the more care you take when transplanting the higher the success rate.
Now that you have transplanted your seedlings into individual pots you can control their growing process better, some will need a little more light than others, the same for watering. The plants are still delicate at this stage, so they should be kept in a (nearly) wind free area.
When the first adult leaves are showing you can start thinking of placing a stalk, to support the plant growing straight up. It is important to grow a strong stalk, as it will need to carry the weight of the fruits hopefully soon.
As the plants grow, be aware of the ‘suckers’ in between the stalk and the leave, this growth serves very little to no purpose for the plant and are best removed so the plant can spend its energy on the good stuff.
The tomato flowers are a lovely yellow colour, to which the bees are attracted and will help pollinate, although Tomato flowers are self-pollinating. Each flower has male and female parts, the stamens and pistil.
Happy growing! Let us know how you grow by sharing on Instagram: @MurielsKitchenFoundation